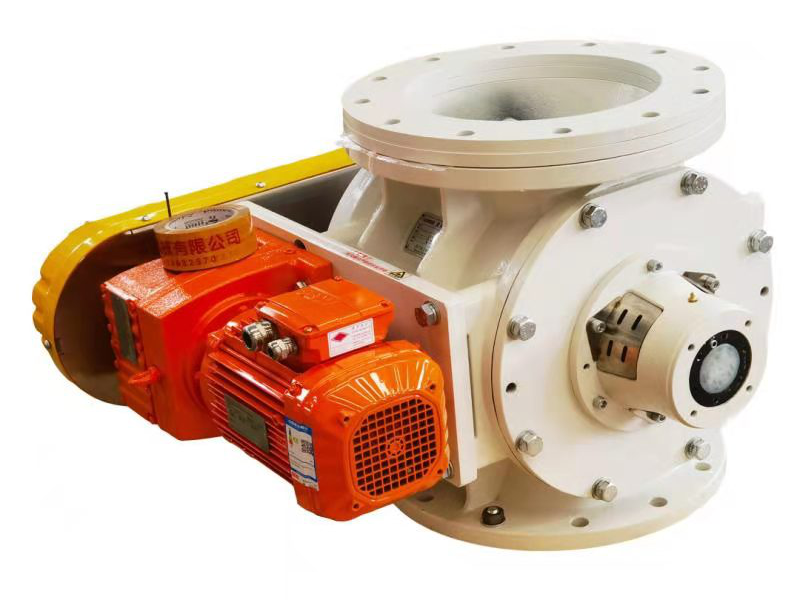
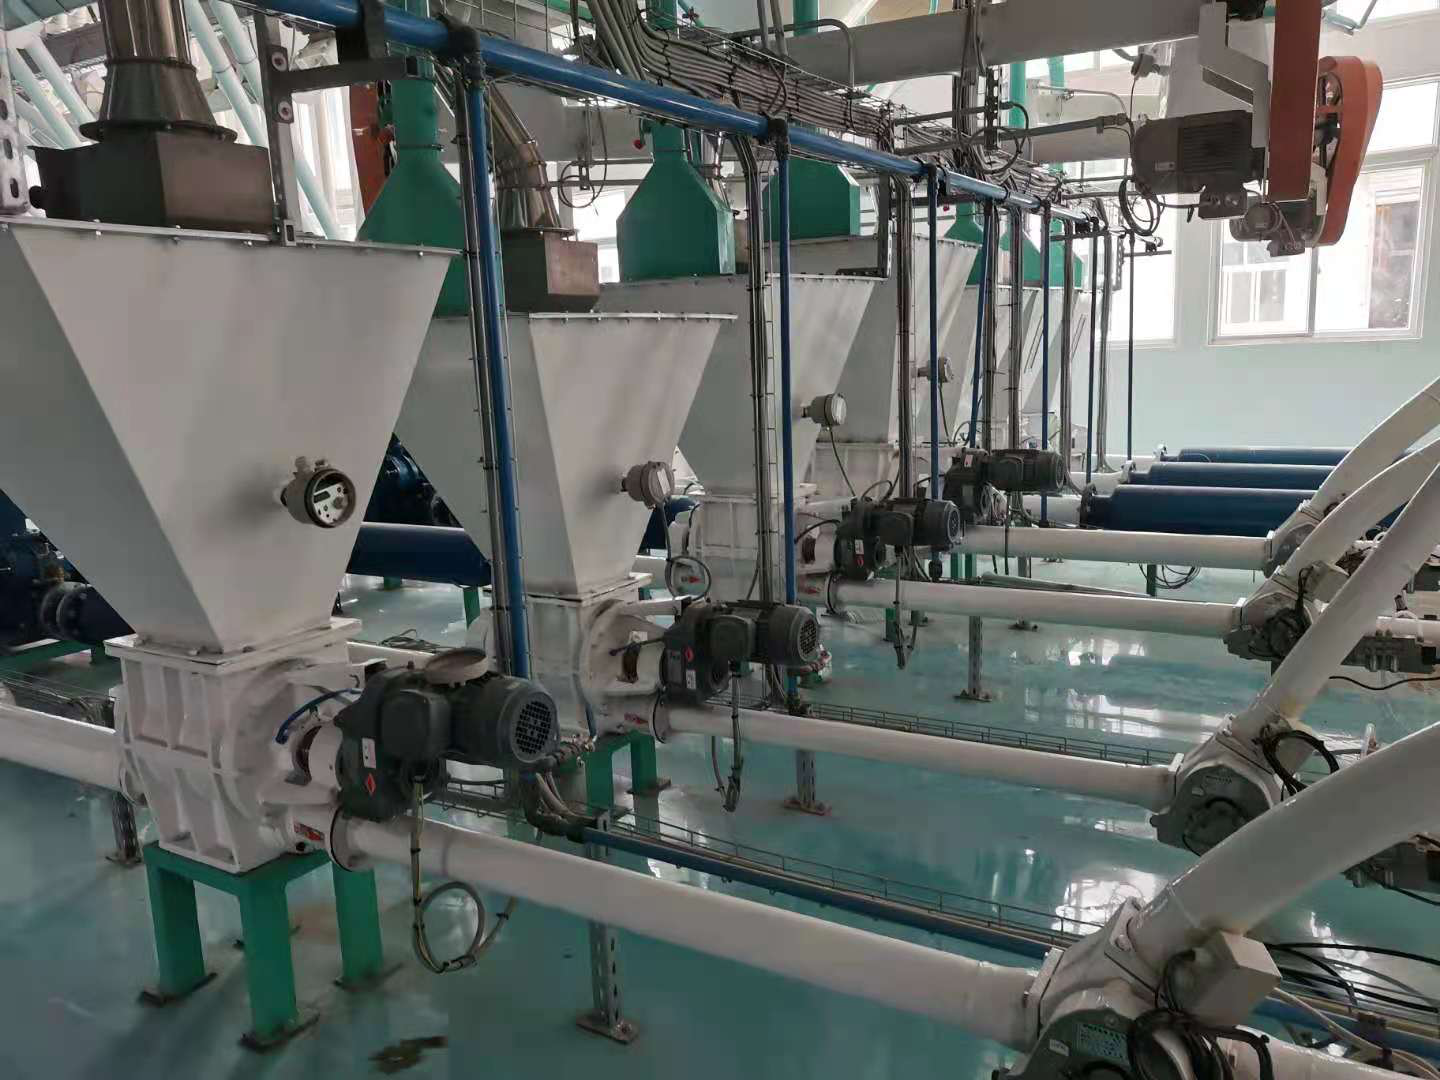
Rotary valves may seem like very simple machines, they are essential for controlling the flow of powder through pneumatic conveying systems. Rotary valves need to be in premium condition to keep the system operating safely and smoothly. And should you encounter a problem with your rotary airlock feeder, the system must be halted to perform repairs, taking significant time and expense.
However, with proper and regular rotary valve maintenance, you can avoid these costly repairs and downtime. This not only results in smoother conveying operations, but also better valve performance.
Below, we share seven easy to follow maintenance steps to help you care for your rotary valves and prevent costly downtime.

Step 1: Inspect the Valve Interior
With bulk powders continually flowing through your rotary valve, it’s important to check the valve interior regularly. This includes checking the condition of the rotor, rotor blades, seals, housing, and end plates. You can easily inspect the valve either through an access door (if the valve has one equipped) or by partially dismantling the valve. If any damage is noted repairs should be performed before the rotary valve is put back into operation.
Step 2: Check Shaft Seals and Bearings
Check the condition of the rotor shaft support bearings for excessive play and smooth operation. Replace them regularly before they are severely worn as worn bearings can affect rotor position in the housing and lead to damage from metal to metal contact between the tight-fitting clearances.
Shaft seals should also be checked at least monthly. On packing type seals, tighten the gland retainer and replace seals before they begin to leak. For air purged seals, it is especially important to maintain proper air purging to the shaft seals on rotary valves.

Step 3: Check Rotor Tip Clearances for Tightness
Because rotary airlock feeders and valves need to control the flow of very fine powders across sometimes high pressure differentials, the rotor tip clearances need to be very tight. Otherwise, your conveying system’s performance is at risk.
To avoid potential issues from excessive air leakage across your airlock make sure your clearances are tight by following these instructions:
* Lock out the power to the rotary valve motor.
* If the connections on top or bottom of the valve can be removed for access remove them, or remove the rotary valve completely from service.
* Clean the interior of the valve to remove all product and residue.
* Insert a feeler gauge that matches the suggested minimal clearance between the end of the rotor vane and the head plate on the drive end of the valve.
* Slide the gauge down to the shaft of the rotor and back up to the tip. If the gauge catches in any spot the clearances are too tight. If there is a ding or damage causing the issue, repair it by hand filing or sanding the raised metal off. Be careful to not remove too much metal! Repeat the process on the blind end of the valve. Once complete, repeat this step on all ends of the remaining vanes.
* Slide the feeler gauge between the tip of the rotor and the housing bore, sliding it from one head plate to the other. Then, rotate the rotor in the direction it normally runs to check the clearances on all tips of the rotor vanes.
* Use a feeler gauge that is .001” greater than the suggested maximum clearance and attempt to slide it into the same areas as above. If the gauge fits, your rotary valve has begun to wear out and it may have trouble creating an effective seal for controlling the flow of powder.
Step 4: Lubricate Drive Components
To avoid deterioration of your rotary airlock’s drive system, lubrication of key components is a must. This includes the speed reducer, and drive chain. Gearbox oil level should be checked and changed per the manufacturer’s instructions. And the chain and sprockets, if equipped, should be lubricated frequently, especially if your rotary valve is located outdoors or in a wash down area. If you’re unsure of the suggested intervals for your valve, consult your owner’s manual or contact your supplier for more information.
Step 5: Adjust the Drive Chain and Sprockets
When inspecting the rotary valve, adjust the drive chain and sprockets to make sure the sprockets are aligned and the chain is correctly tensioned. Then, ensure the guard on the drive chain is in place before completing the maintenance.
Step 6: Install a Contact Detection System
To be alerted when your rotary valve is susceptible to damage, install a rotor contact detection system. This system monitors electrical isolation of the valve’s rotor to the housing, alerting you when rotor to housing contact occurs. These systems are a great way to protect your product from metal contamination while also preventing expensive damage to your rotary valves and feeders.
Step 7: Train Your Operators and Maintenance Technicians
No matter how well you stick to the manufacturer’s suggested preventative maintenance schedule, if maintenance is not performed correctly, you are risking your product and rotary valve’s lifespan and performance. Make sure your staff is trained in the specific rotary valves at your plant. As simple as rotary valves may seem, each manufacturer’s design is different and requires in depth knowledge to properly maintain and repair. Only experienced technicians should be allowed to work on the rotary valve.
If your operators are in charge of cleaning, make sure they are trained in proper disassembly procedures to prevent undue damage to the sensitive rotor tips and housing surfaces. To make sure everyone who touches the rotary valves knows what they are doing, conduct routine training with a qualified representative or technician.
Post time: Jan-13-2020
